End-to-End Walkthrough
This is the training story for one complete consignment flow. Use it with new users after they finish Quickstart. The record numbers in screenshots are examples, but the checkpoints are the same in production.
What this walkthrough proves
A supplier shipment can move from PO receipt to QC, sale, packing, shipment, customer invoice, Axis vendor bill, paired settlement reports, and paid settlement without side spreadsheets or manual document creation.
Scenario
Axis Mobile owns the devices. Reyder receives them, tests them, sells them, ships them, invoices the customer, and pays Axis the owner amount.
| Example object | What it represents |
|---|---|
P00002 |
Supplier purchase order that created the receiving manifest |
MAN/2026/0001 |
Receiving manifest for incoming IMEIs |
S00030 |
Customer sales order |
PKG/00009 |
Packing box for outbound shipment |
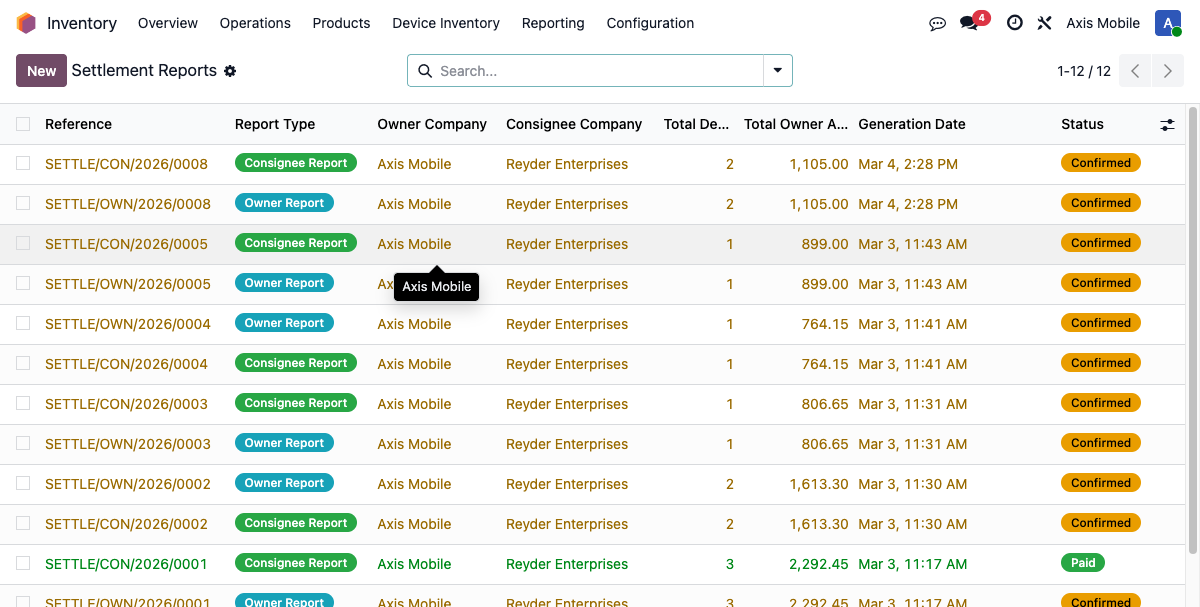
SETTLE/OWN/... |
Axis-side settlement report |
SETTLE/CON/... |
Reyder-side settlement report |
Step 1 — Receive devices from the supplier
Start from the purchase order. A confirmed PO creates the receiving manifest automatically.
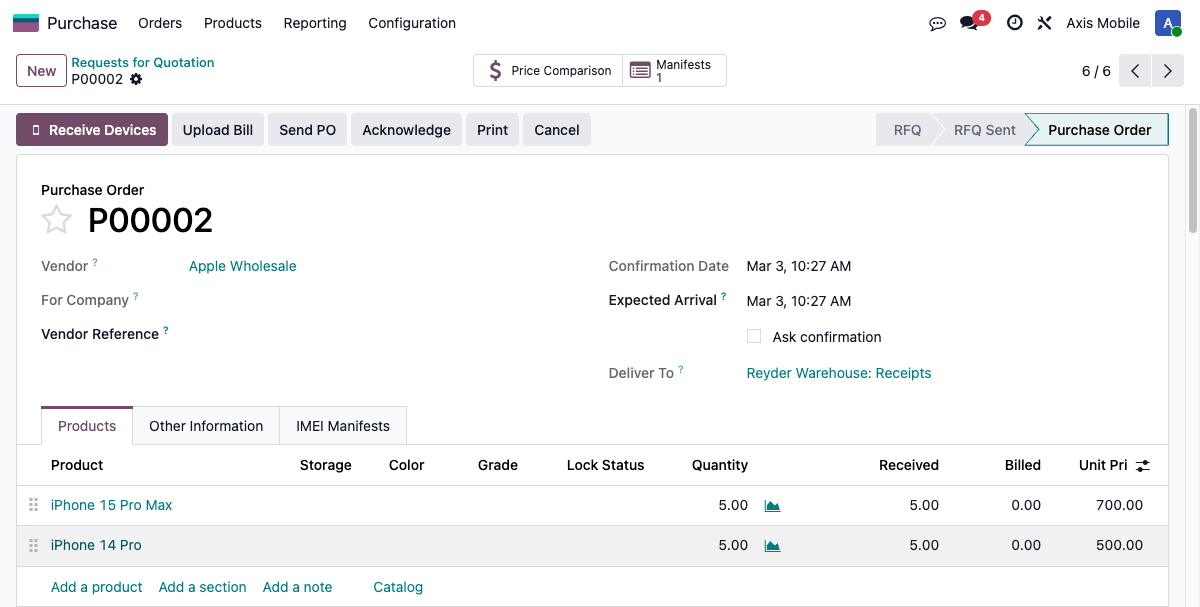
Open the manifest from the PO's Manifests smart button or tab.
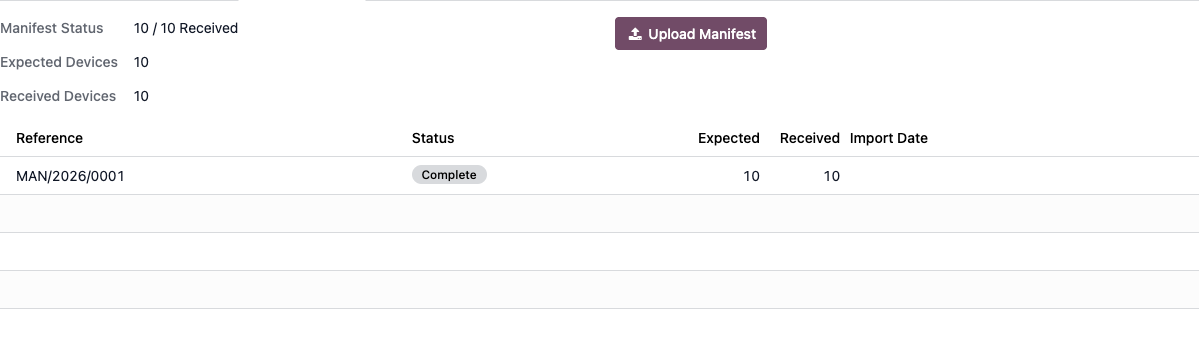
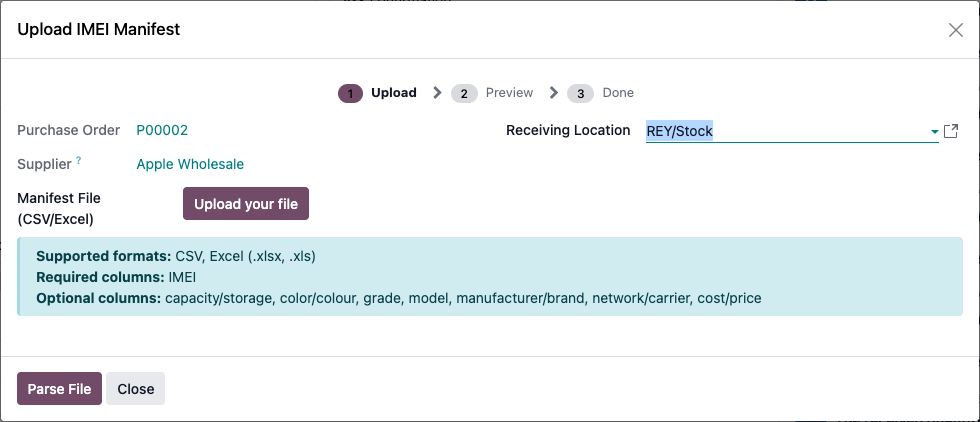
If the supplier sent a file, upload it first. Then scan the physical devices as they arrive.
The receiving manifest is your control document. The important numbers are Expected, Received, and progress percent.
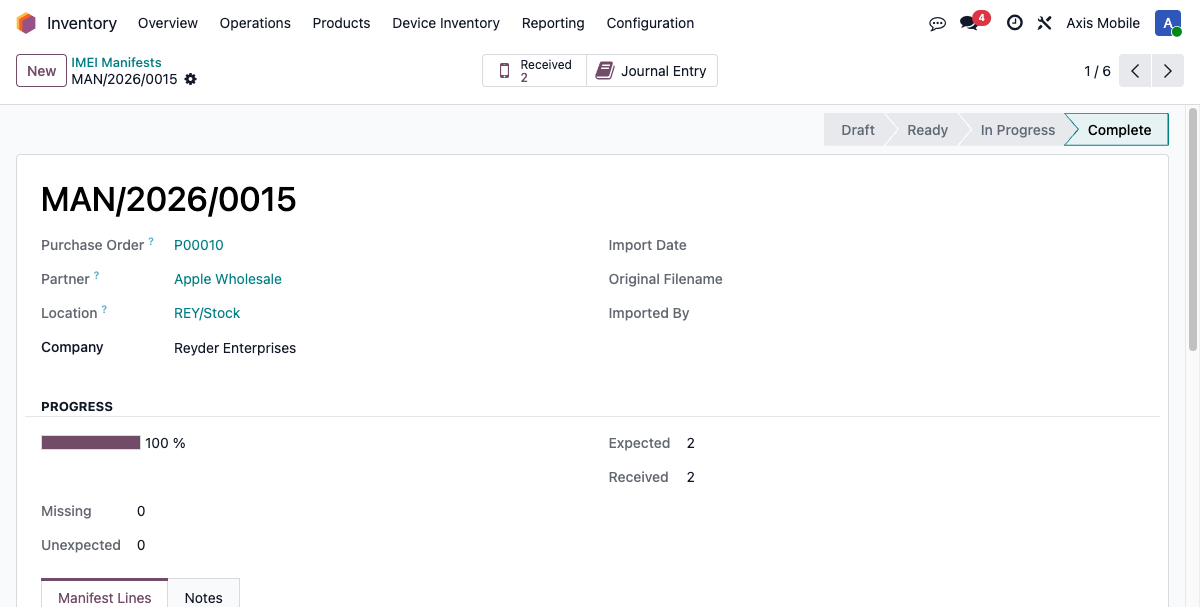
Receiving checkpoint
Continue only when the manifest is Complete, the expected and received counts make sense, and unexpected/duplicate scans have been resolved. At this point the devices exist by IMEI and can move into QC.
Step 2 — Clear devices through QC
QC turns raw receipts into sale-ready inventory. Open the QC handoff wizard, choose the incoming batch, and move the devices into QC.
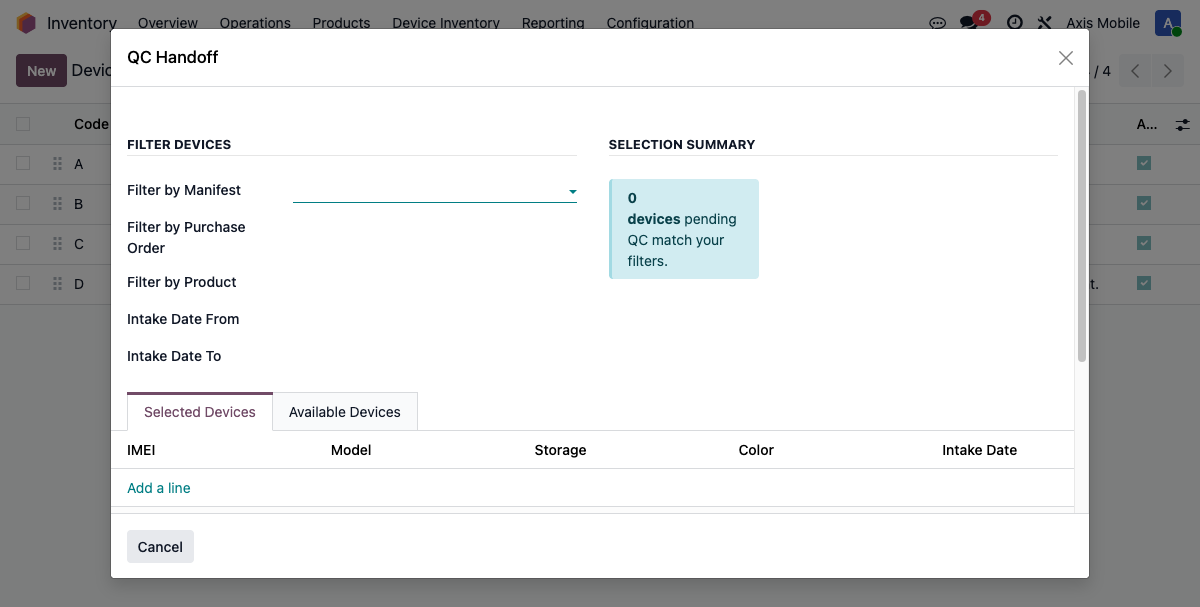
On each device, record the diagnostic data you need and assign a grade. When the device is ready, mark QC complete.
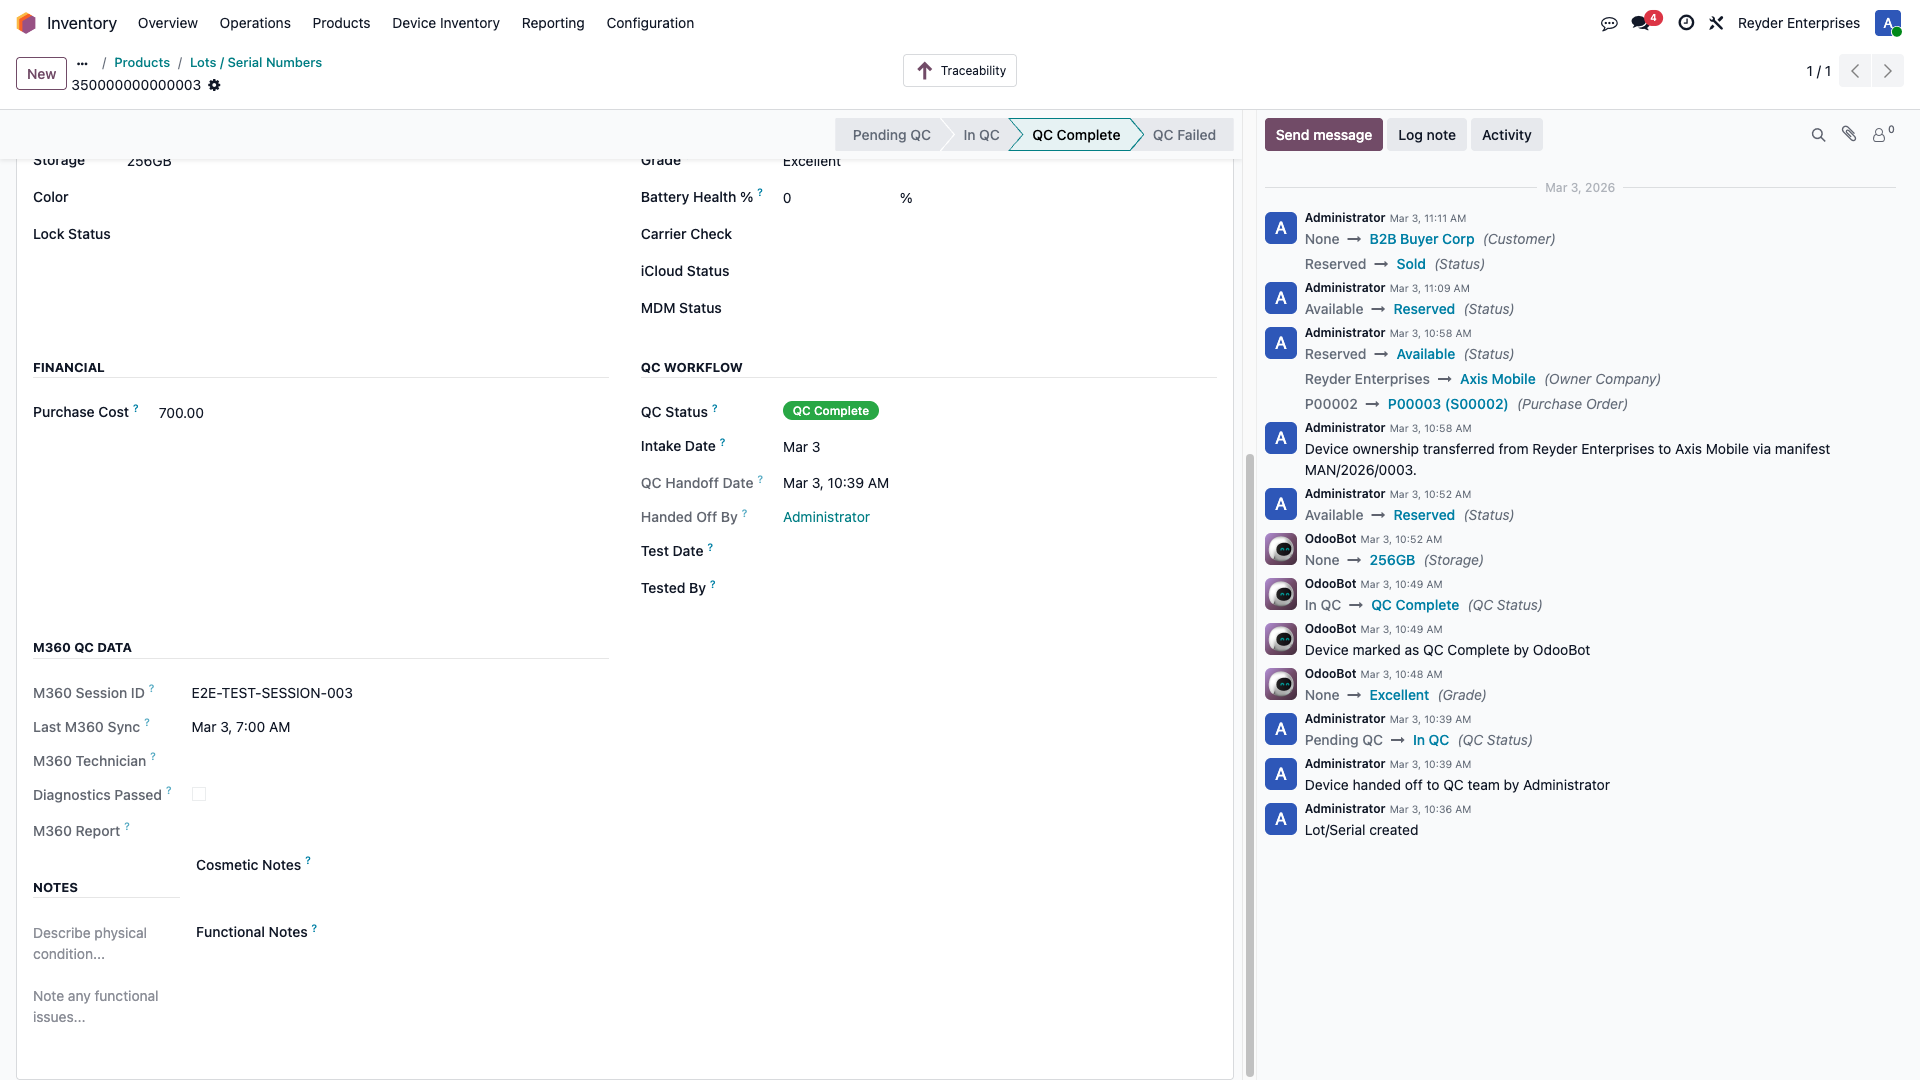
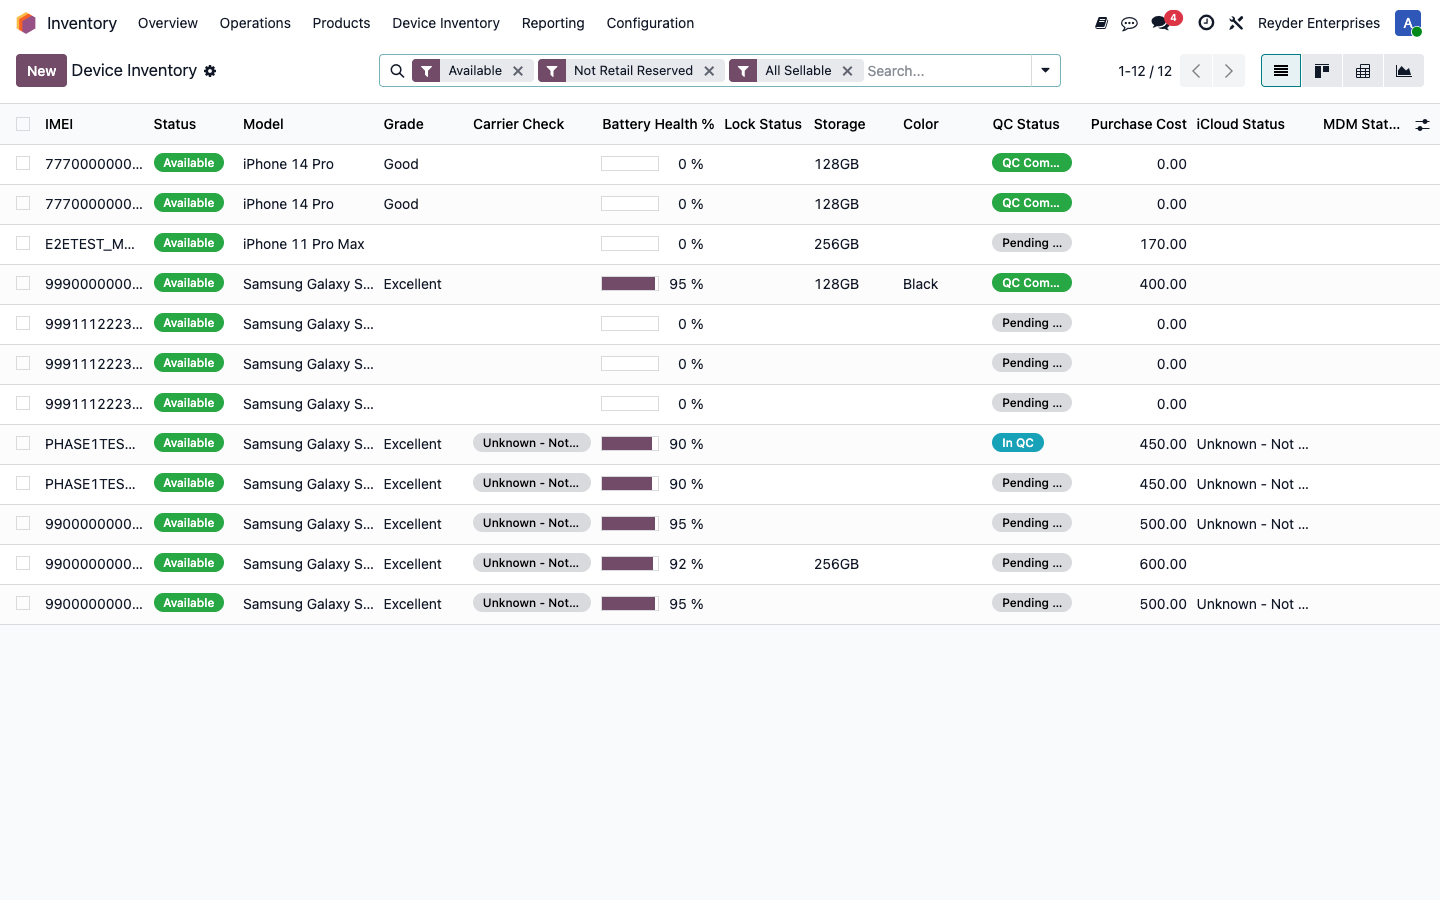
After QC, sale-ready devices should appear as Available and QC Complete.
QC checkpoint
Sales can allocate the device without a manager override only when the device is available, QC complete, visible to the selling company, not retail-reserved, and has a positive purchase cost.
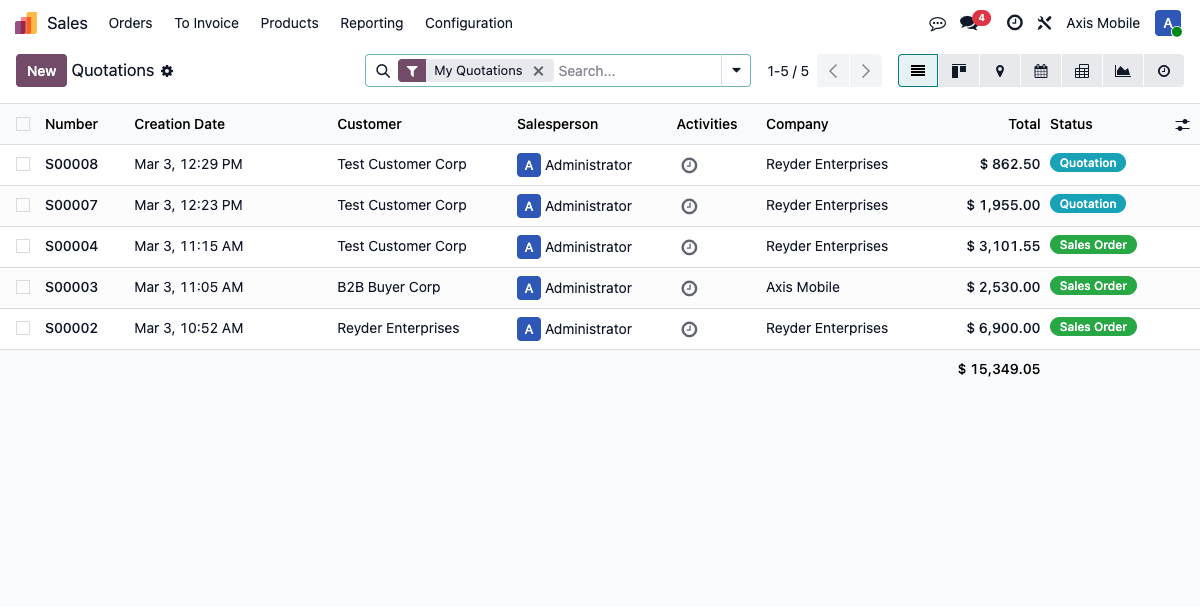
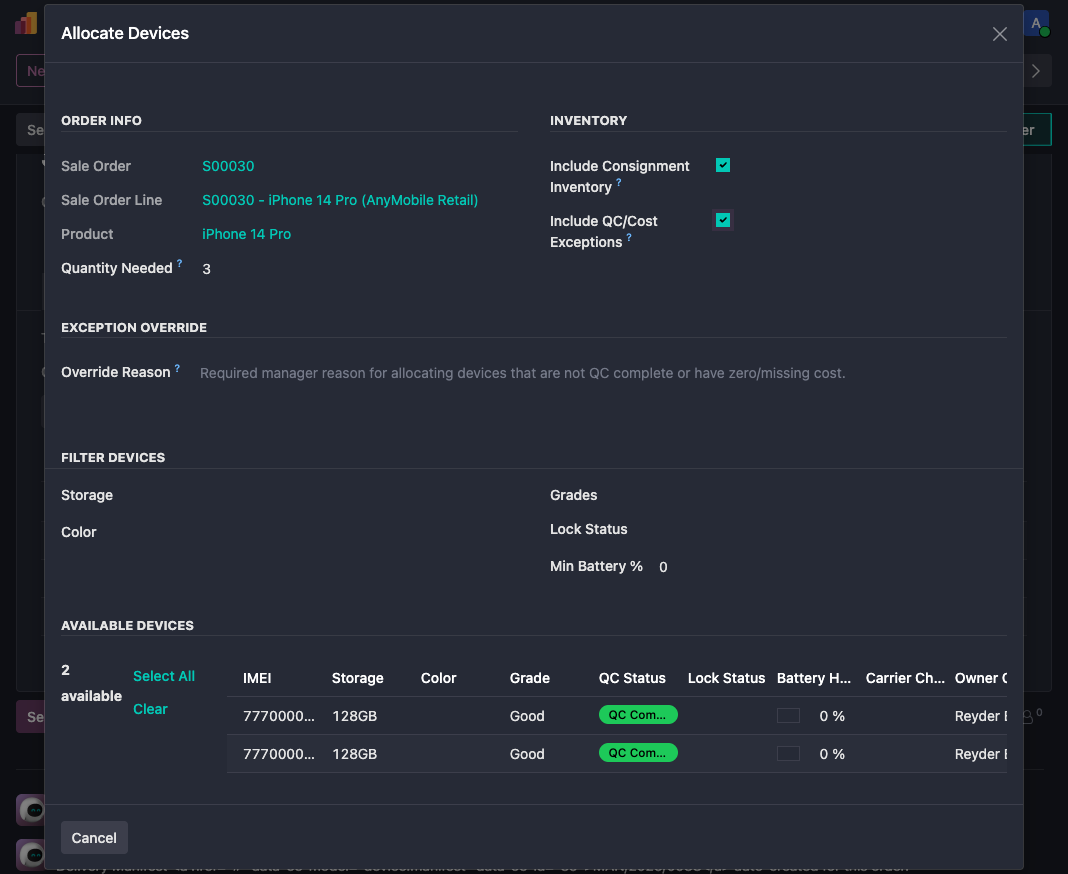
Step 3 — Create the customer order and allocate IMEIs
Sales creates the SO from the Sales app. The product line says what the customer wants; allocation says which exact phones the customer gets.
Use the Device Allocation tab to review allocated quantity and open the allocation wizard.
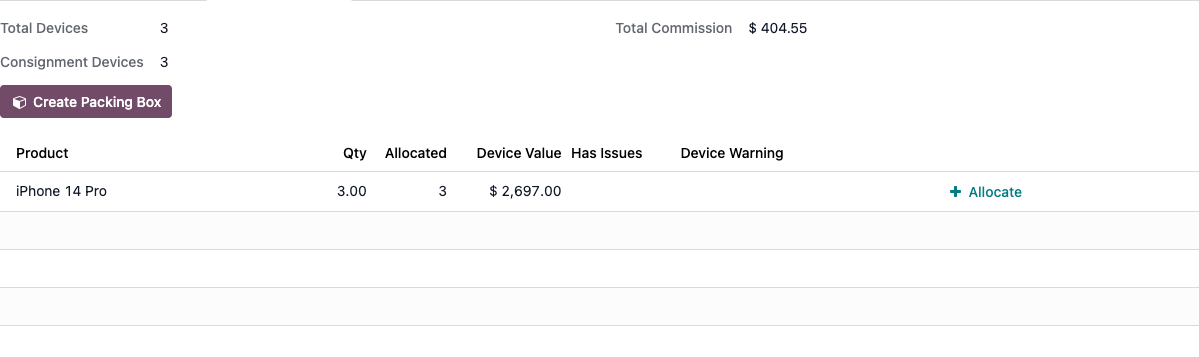
The allocation wizard is where sales pins exact IMEIs to the order. It uses the sales order line unit price for those IMEIs and calculates the consignment amounts.
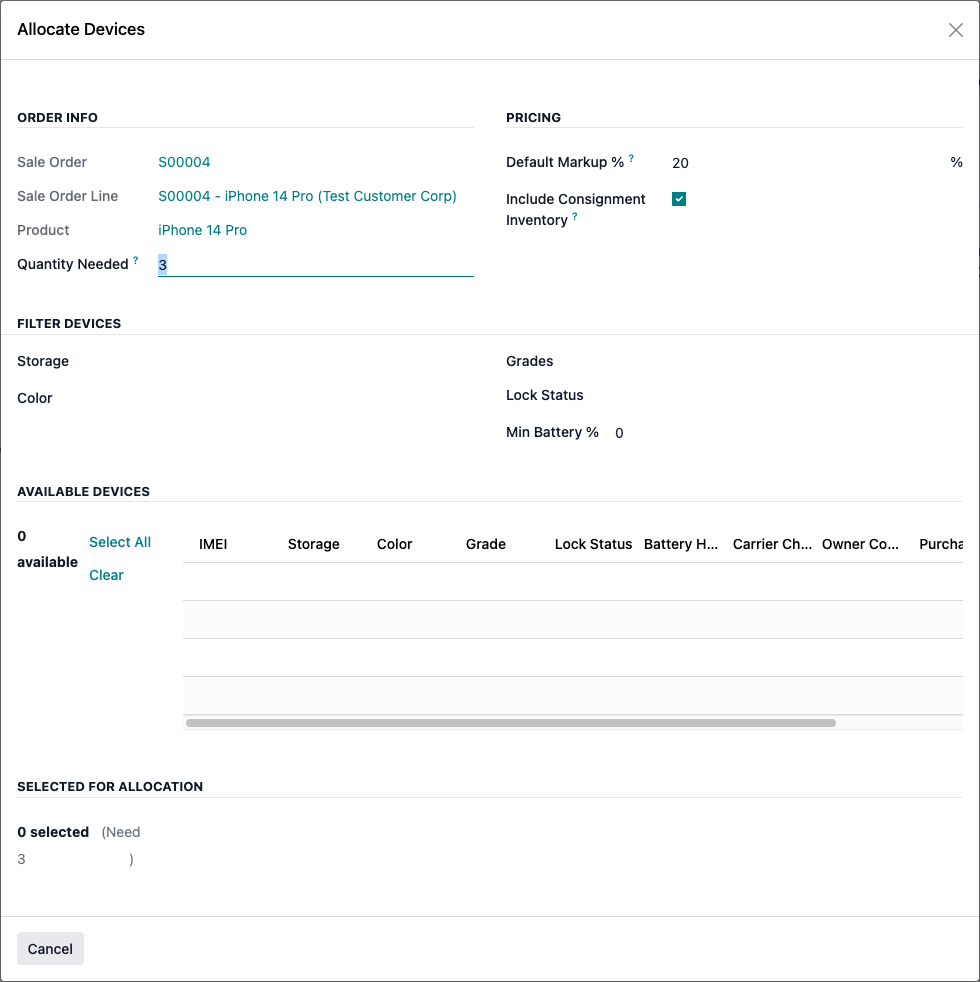
Managers can include QC/cost exception devices, but only with a reason. That override covers QC/cost readiness; it does not bypass availability, duplicate allocation, wrong-company visibility, retail reservation, or a zero sales order line price.
Confirm the sales order after allocation. Confirmation creates the downstream warehouse documents.
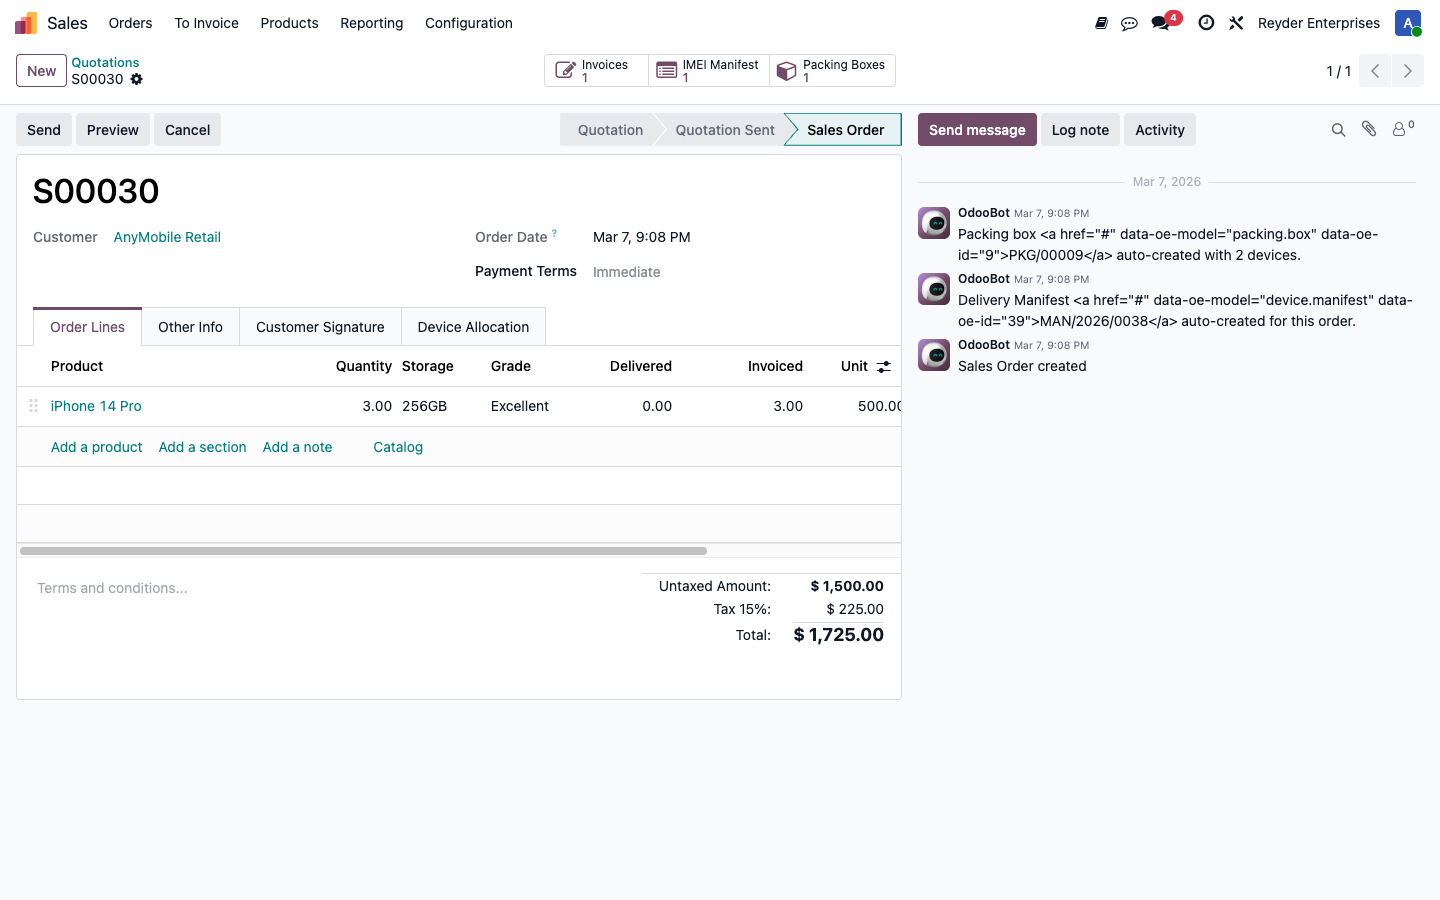
Sales checkpoint
The order is ready for warehouse when the SO is confirmed, allocated devices are reserved, and the IMEI Manifest and Packing Boxes smart buttons exist.
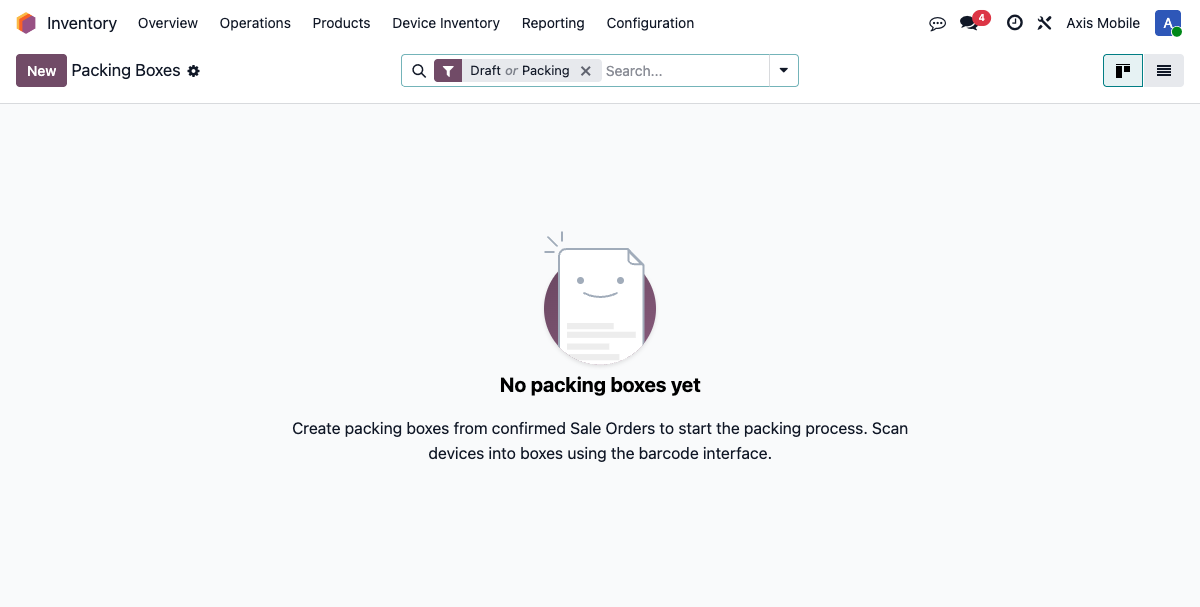
Step 4 — Pack and ship
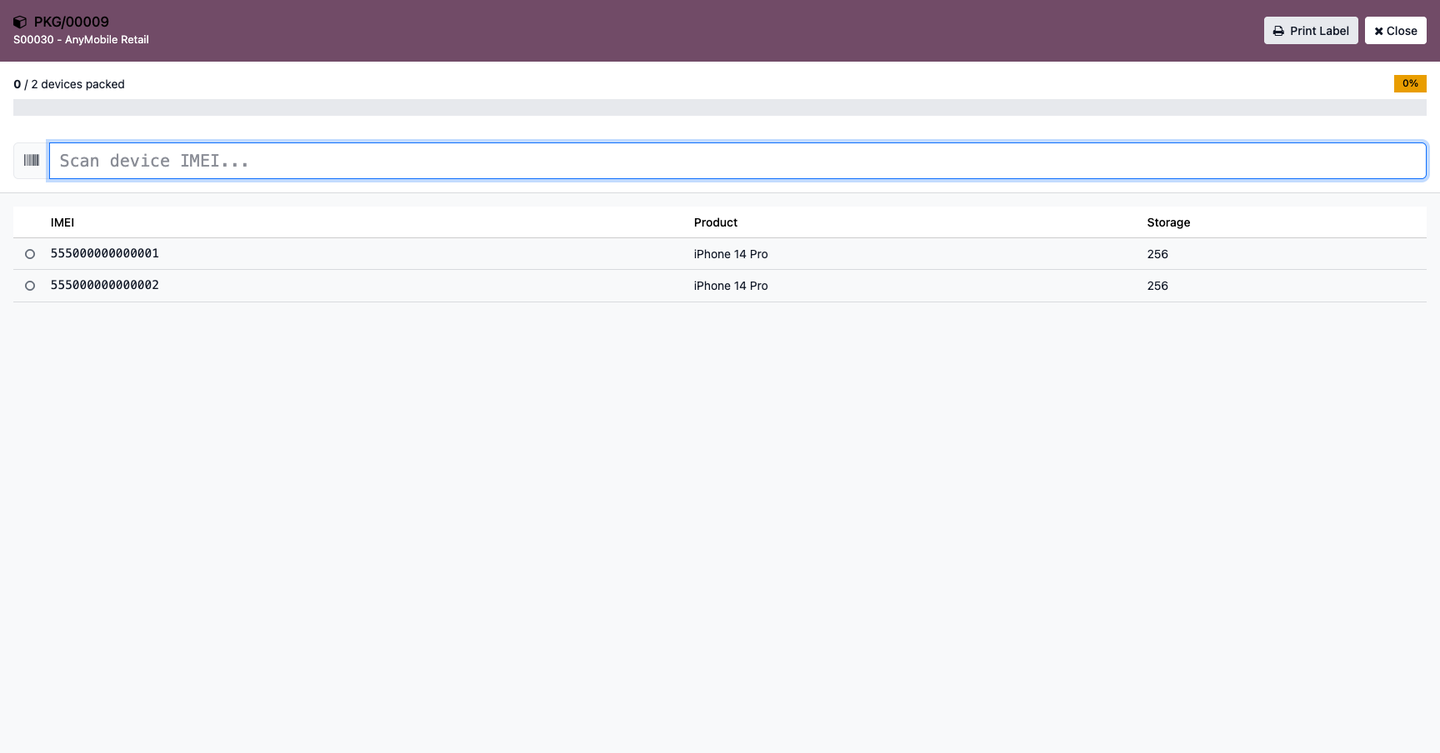
Warehouse should start from the packing box. The packing box is the scan surface for outbound delivery.
Open the box. Confirm the sale order, manifest, customer, expected count, and devices listed in the Devices tab.
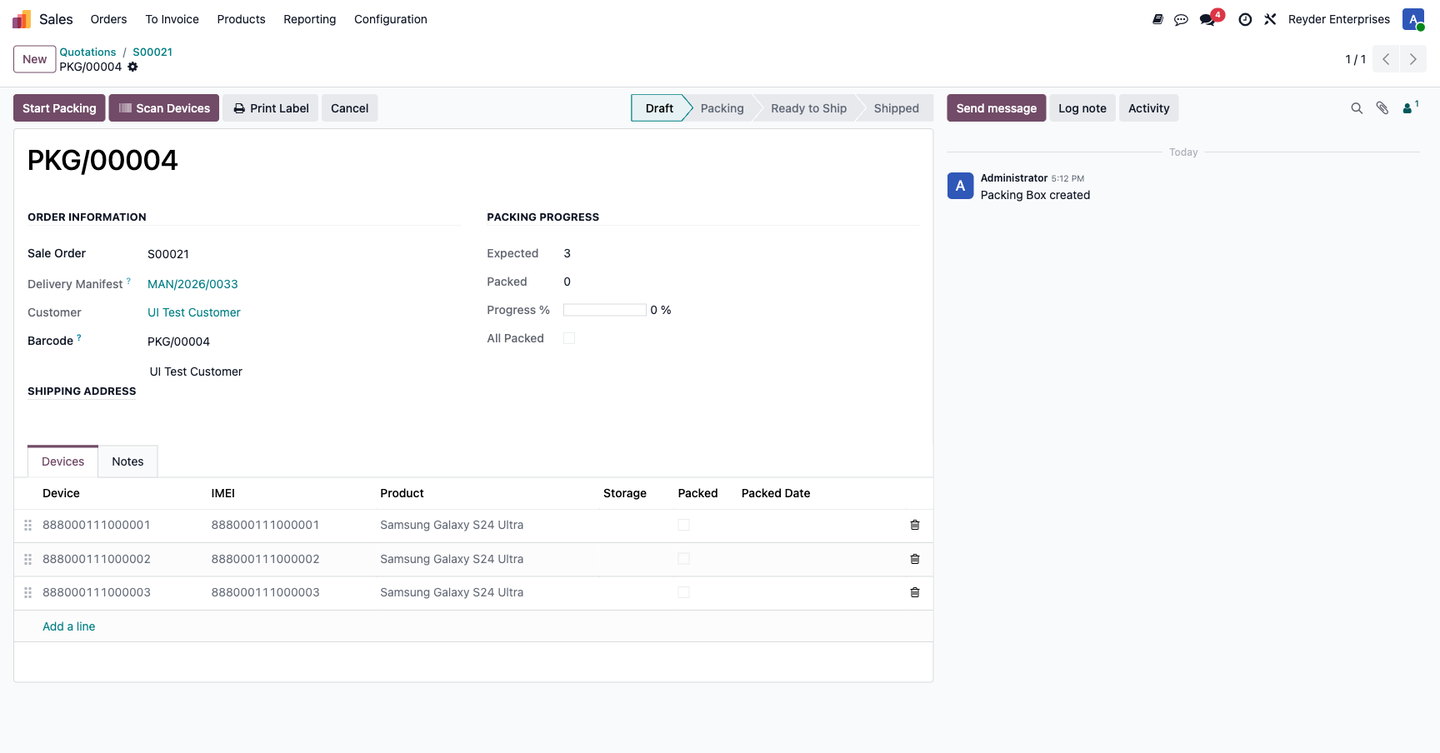
Use Scan Devices. One scan packs the box and picks the linked delivery manifest. The user should watch packed / expected as they scan.
When the box is complete, click Mark Ready to Ship, then Mark Shipped. Shipment is the operational and accounting trigger.
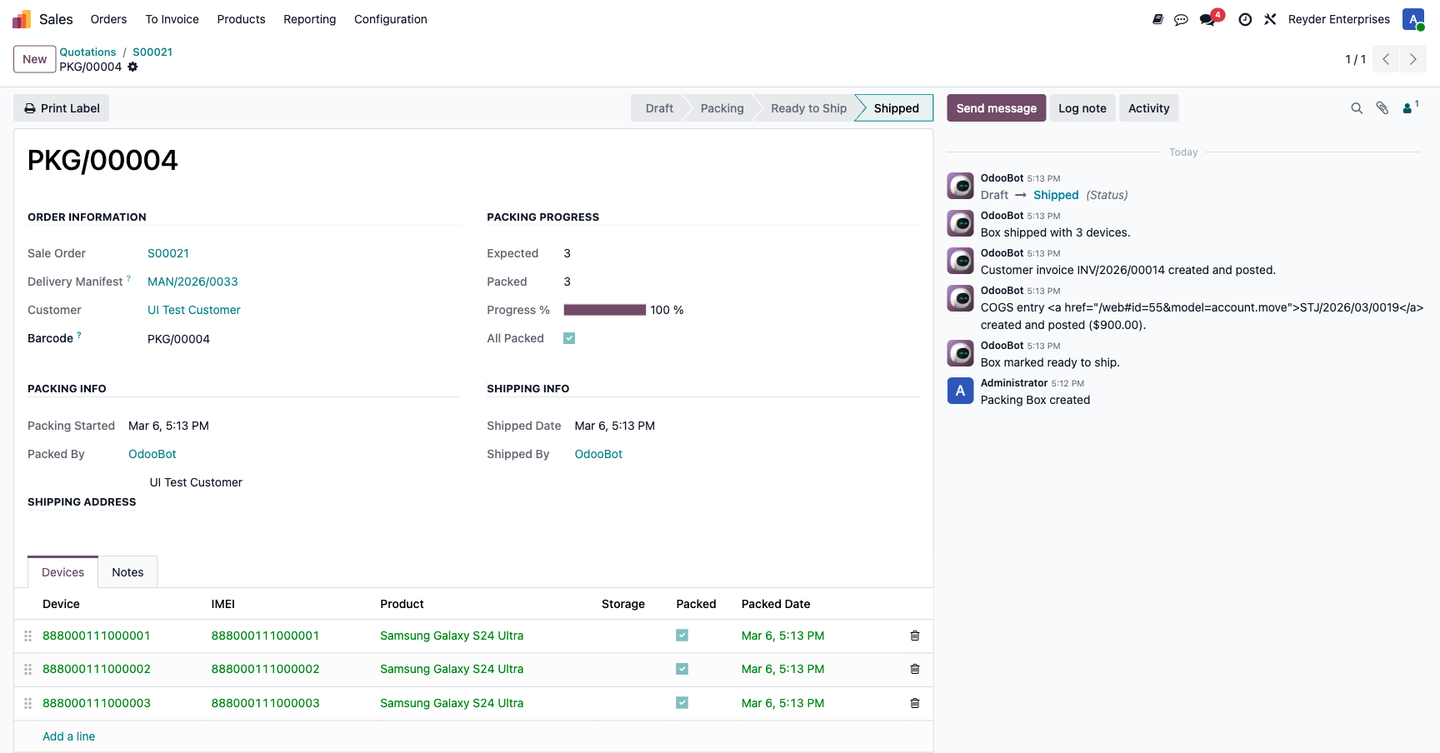
Shipping checkpoint
Continue to accounting only when the box is Shipped. Shipping creates or updates the customer invoice, COGS entry, settlement reports, and delivery manifest state.
Step 5 — Reconcile the settlement
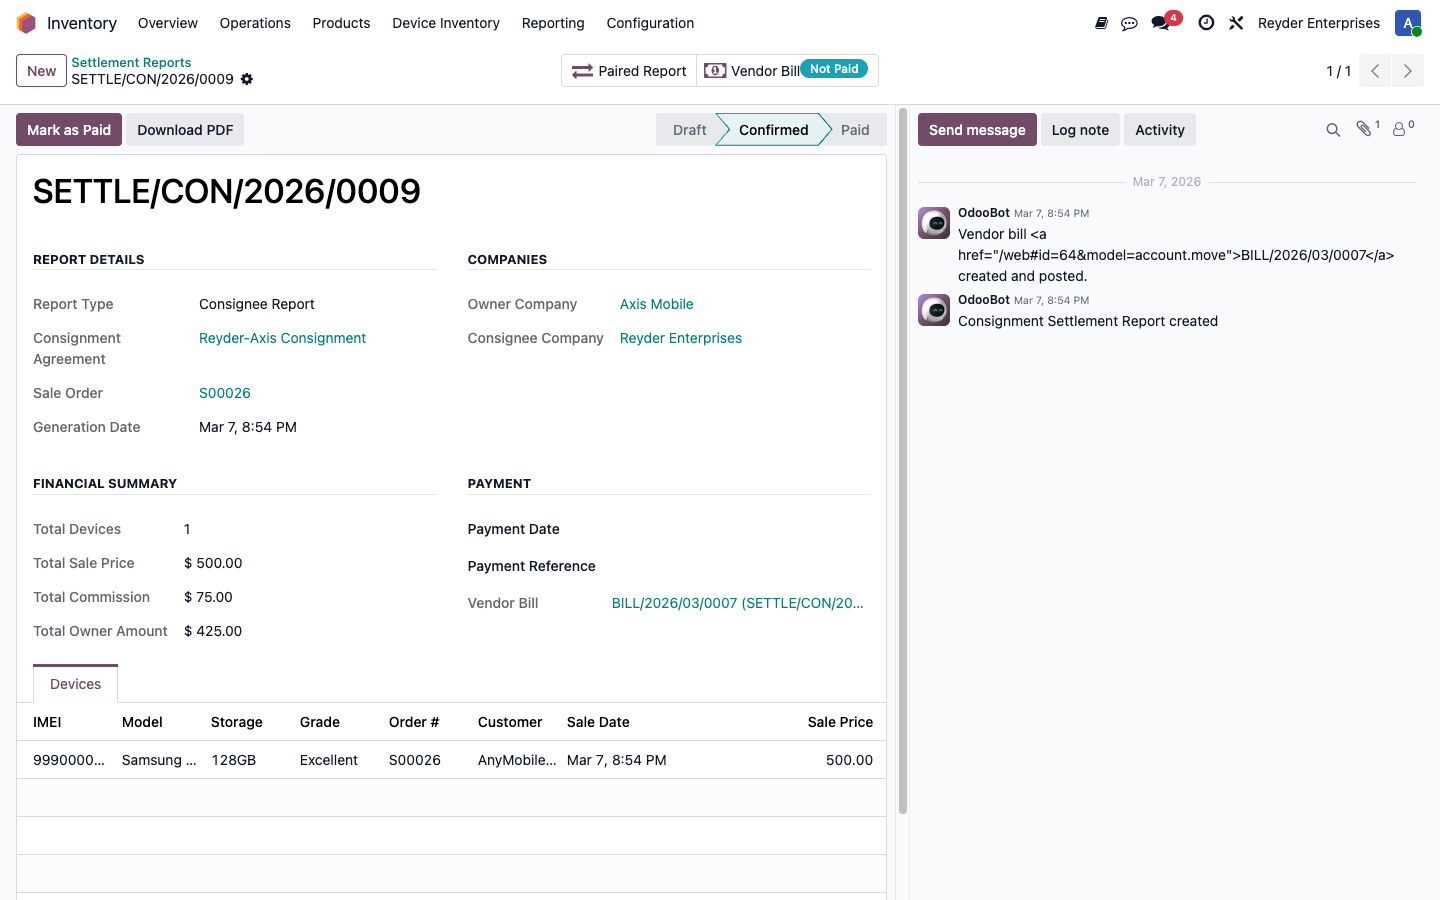
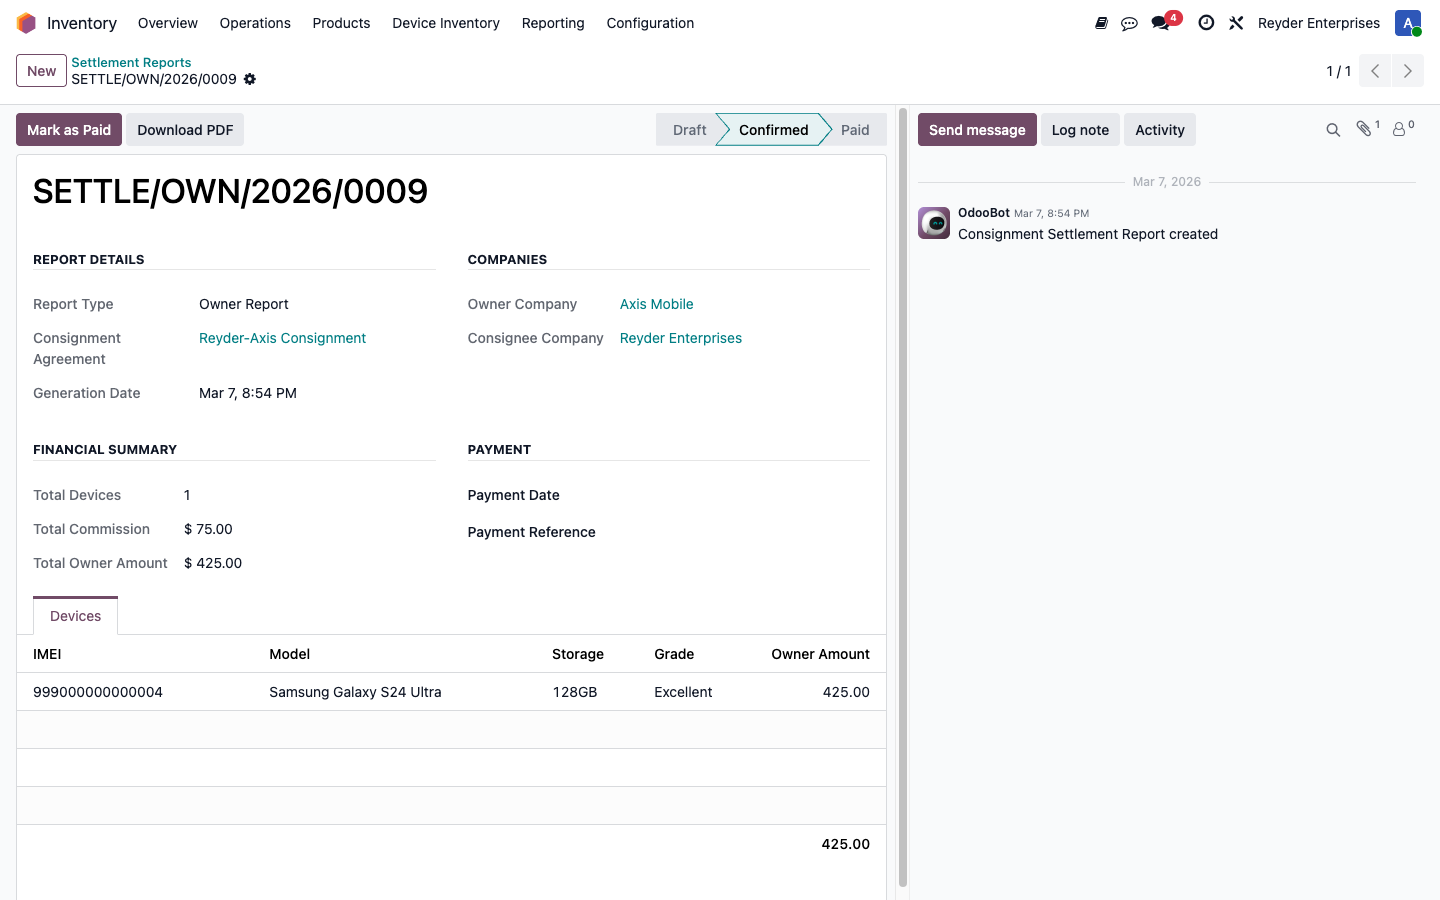
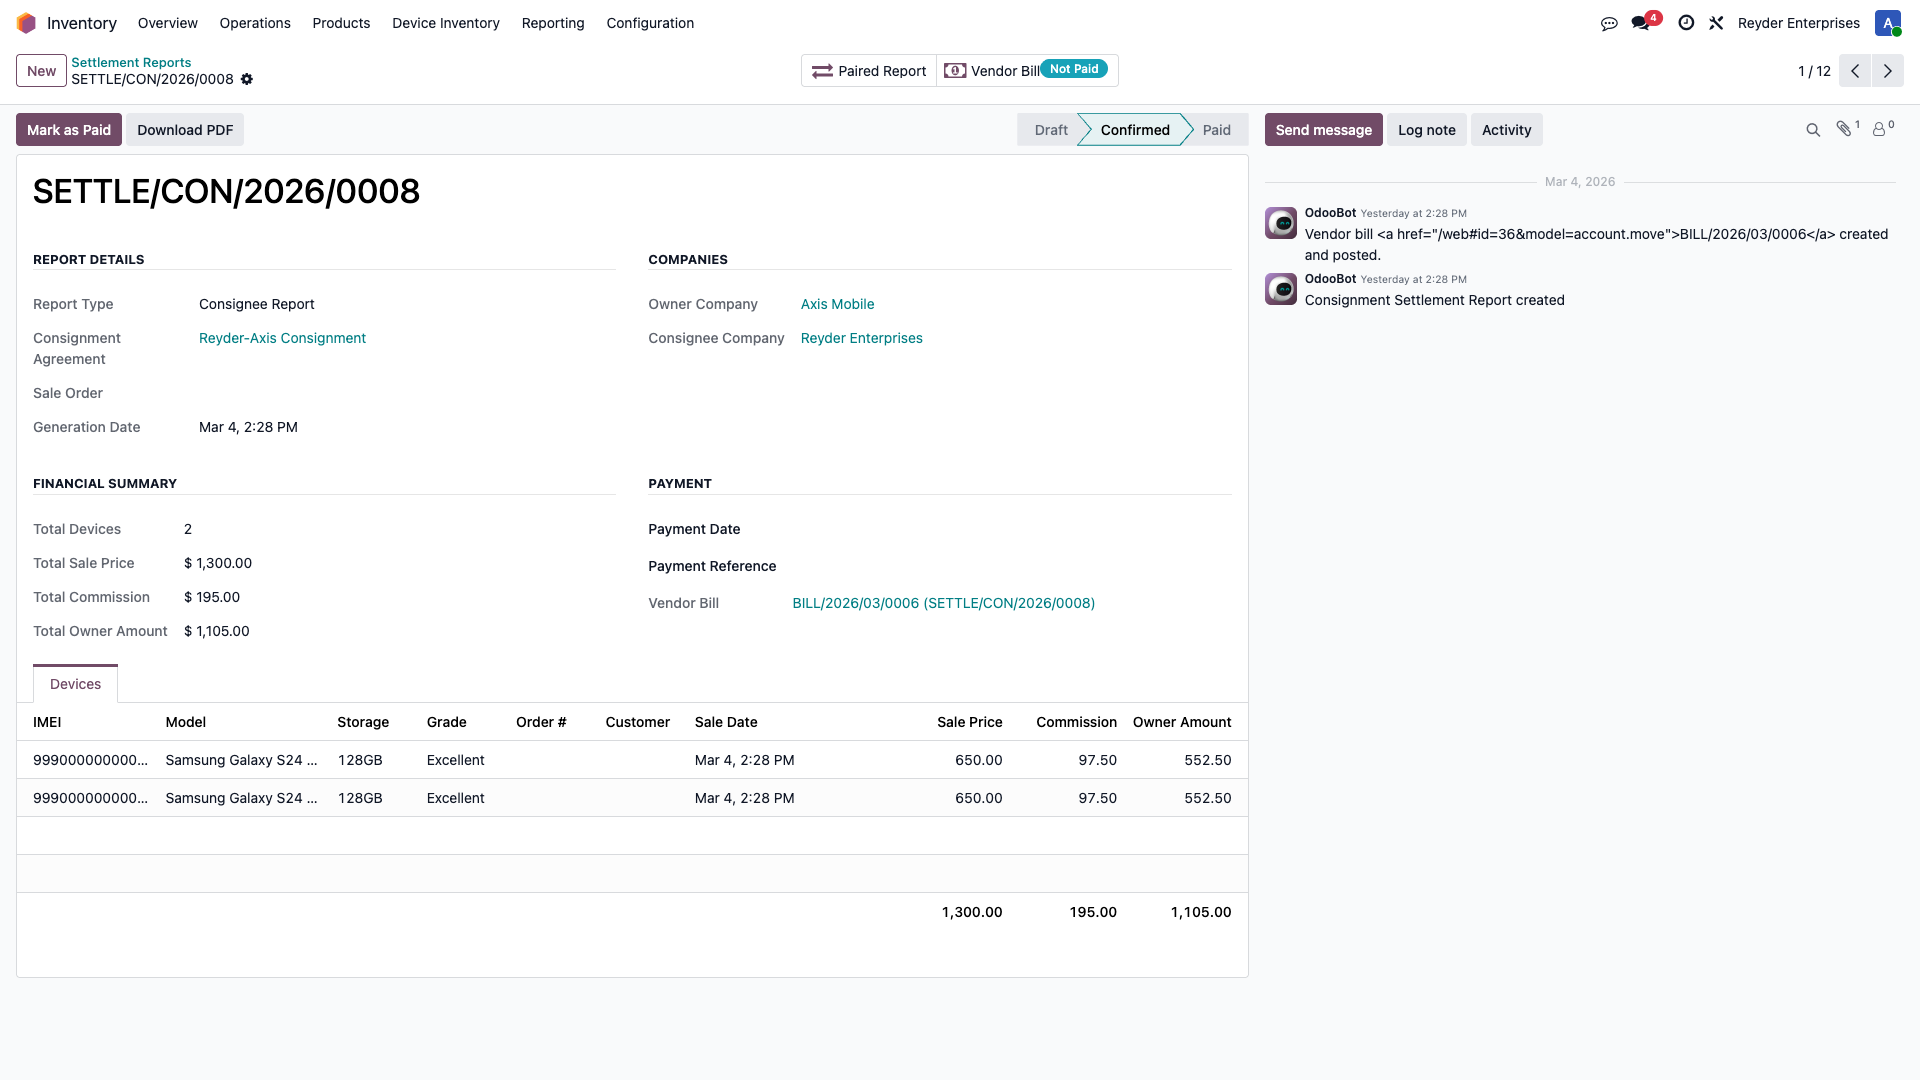
Open Settlement Reports. Consignment sales create paired reports: one for Axis and one for Reyder.
Reyder's consignee report shows the full sale detail and vendor bill link.
Axis's owner report is intentionally narrower. It gives Axis the owner amount and summary totals without exposing Reyder's customer, sale order, sale date, sale price, or per-device commission.
After the vendor bill is paid and reconciled, mark the consignee report paid. The paired owner report updates with it.
Accounting checkpoint
The flow is closed when the vendor bill is paid/reconciled, the consignee settlement report is Paid, the paired owner report is also Paid, and the sold devices are marked settled.
Retail branch
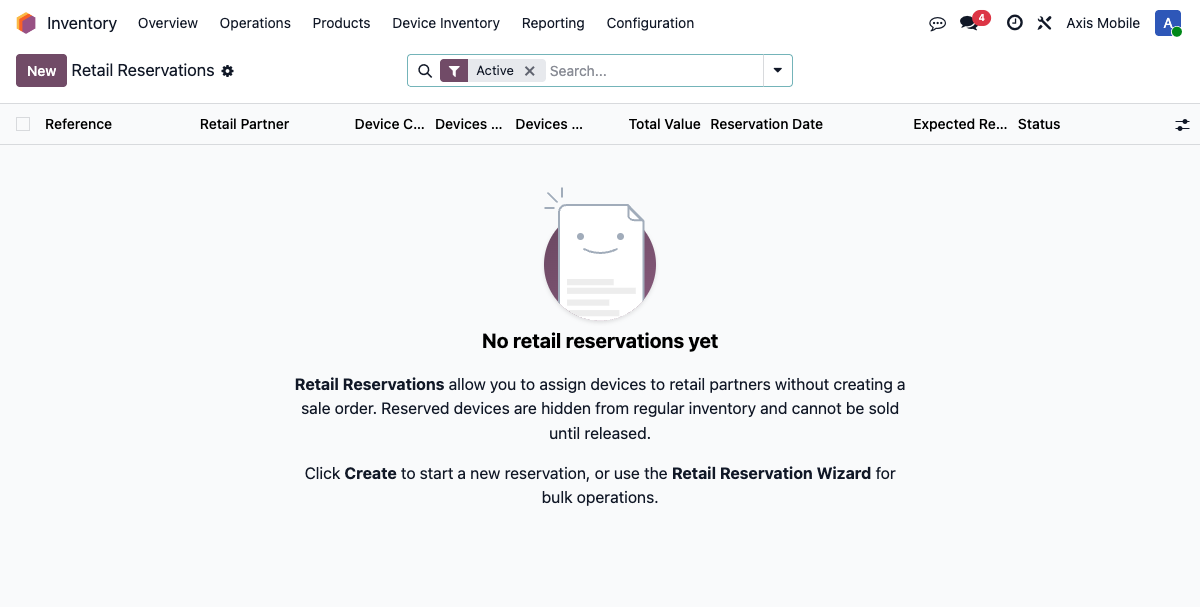
Retail is the alternate sales path. Use it when a retail partner holds a batch of devices and reports sold IMEIs later.
First reserve devices for the retail partner.
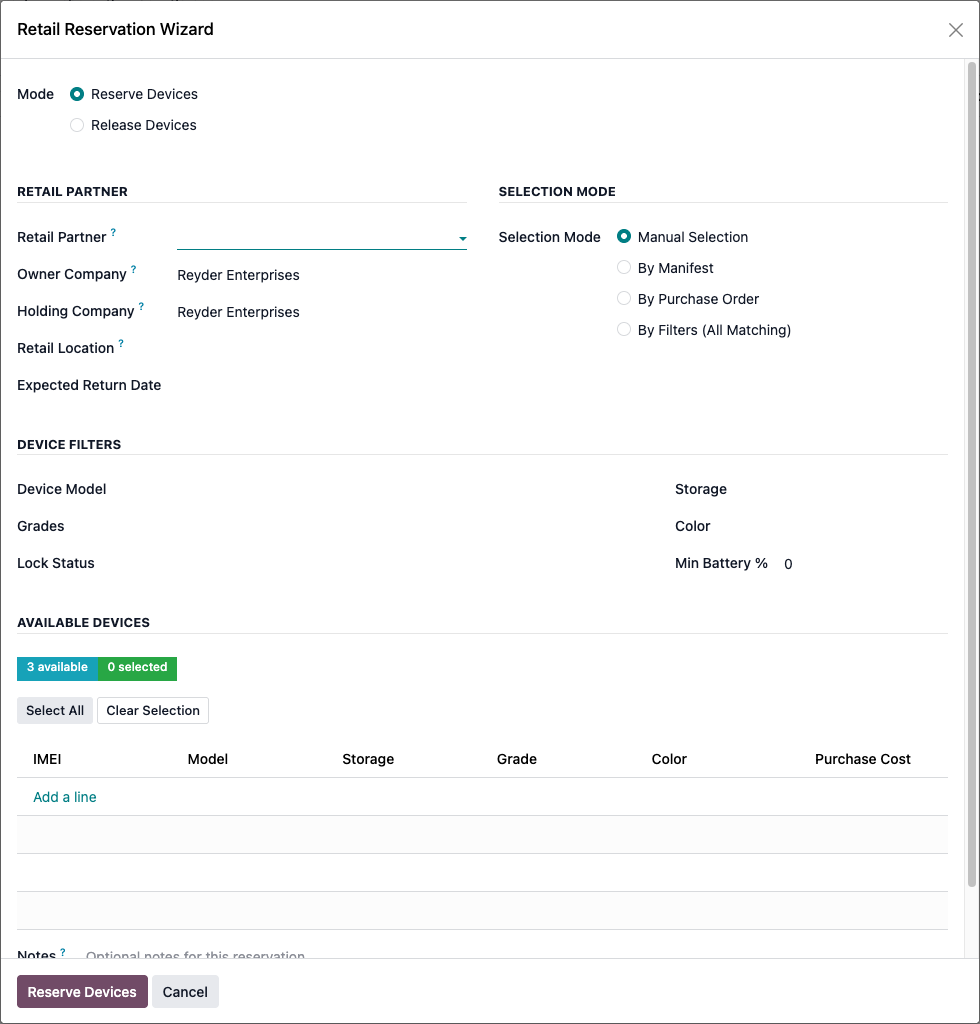
The active reservations list shows how many devices are reserved, sold, and remaining.
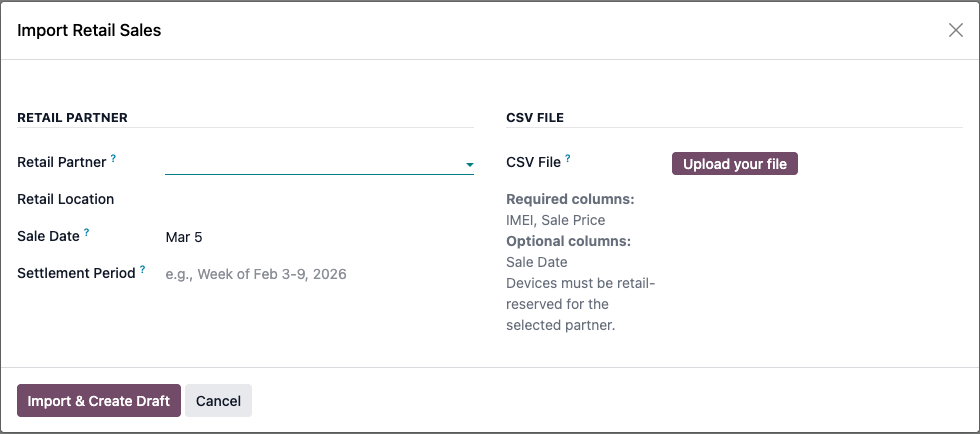
Record sold IMEIs manually or import a CSV from the partner.
Retail checkpoint
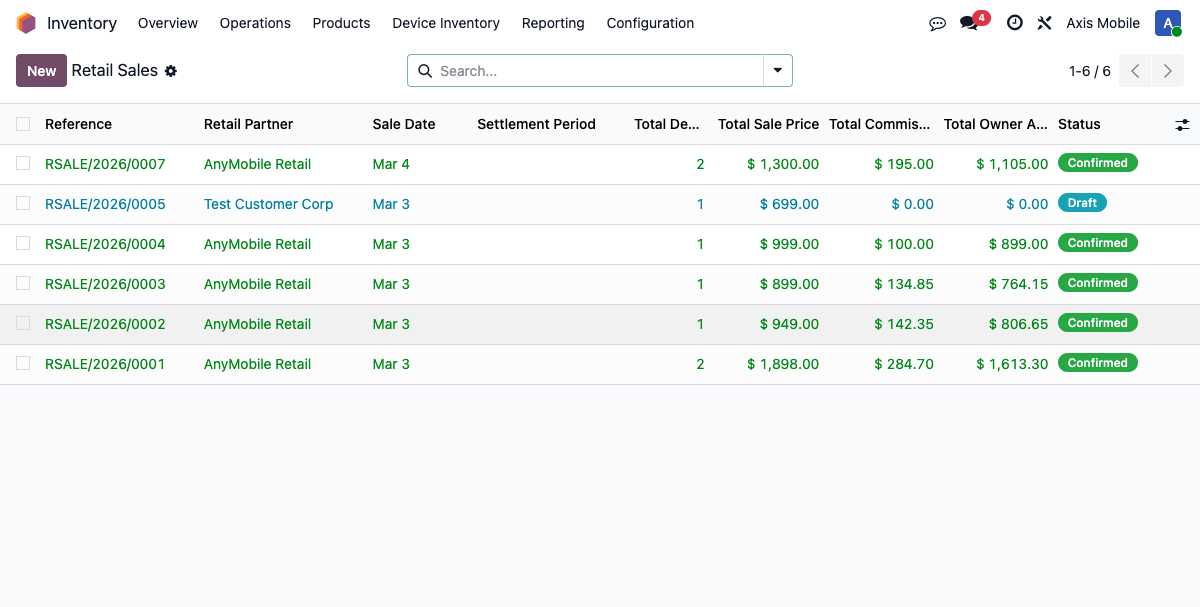
A retail sale can be confirmed only for devices already reserved to that same retail partner. Confirmation posts COGS, creates the retail invoice, and creates settlement reports for consigned devices.
What each role should remember
| Role | Core rule |
|---|---|
| Warehouse | Scan physical IMEIs; do not ship until packed equals expected. |
| QC | A device is not normally sellable until QC is complete and cost is positive. |
| Sales | Allocate exact IMEIs before confirming the order. |
| Accounting | Pay and mark the consignee report, not the owner report. |
| Admin | Keep company access tight; do not expose Reyder customer or sale-price data to Axis. |
If the walkthrough breaks
Use these checks before creating anything manually:
| Break point | First place to check |
|---|---|
| Manifest did not appear after PO confirmation | Purchasing & Receiving |
| Device cannot be marked QC complete | Quality Control |
| Device is missing from allocation wizard | Sales Orders |
| Packing box will not ship | Delivery Manifests |
| Settlement report was not created | Settlement Reports |
| Axis can see Reyder data | Security & Multi-Company |