Setup & Configuration
Who this is for
The operator standing up the system for the first time, or anyone verifying setup after a migration. Day-to-day users don't need this page.
What you'll accomplish: configure the accounting, journals, inter-company partners, M360 integration, grades, and users so the module is production-ready.
Before you start: the Device Inventory module is already installed and both companies (Reyder Enterprises, Axis Mobile) exist. If not, do that first.
Setup checklist
Work through these in order. Each one links to the detailed section below.
- [ ] Enable inter-company transactions (if you'll transfer devices between Reyder and Axis)
- [ ] Configure Device Inventory Accounting (journal + 3 accounts)
- [ ] Configure Settlement Journal (purchase journal for vendor bills)
- [ ] Configure Inter-Company Device Transfers (partner, journal, location)
- [ ] Configure M360 QC Integration (credentials, API mode)
- [ ] Verify Device Grades exist (Excellent, Good, Fair, Poor)
- [ ] Assign users to security groups
- [ ] Create your first Consignment Agreement (separate guide)
- [ ] Switch M360 API from
testtolivewhen ready for production
Where the settings live
All module settings are on the Settings → Inventory page, grouped at the bottom:
- Inter-Company Device Transfers
- Device Inventory Accounting
- Consignment Settlement
- M360 QC Integration
Some rely on the standard Odoo settings elsewhere — specifically Inter-Company Transactions under General Settings. Those are called out below.
Company roles
The module is built for a two-company consignment model:
| Company | Role | Odoo ID |
|---|---|---|
| Reyder Enterprises | Consignee — runs the warehouse, handles all sales and customer invoices | 1 |
| Axis Mobile | Device owner — consigns devices to Reyder; receives owner-settlement payouts | 2 |
You can run with a different split (different names, different owner arrangement), but the system is designed around one consignee + one owner. Multiple owners would require multiple agreements, and are supported — multiple consignees against the same owner are not.
Inter-Company Transactions (Odoo general settings)
Only needed if Reyder and Axis will transfer devices between each other.
Settings → General Settings → Companies → Inter-Company Transactions
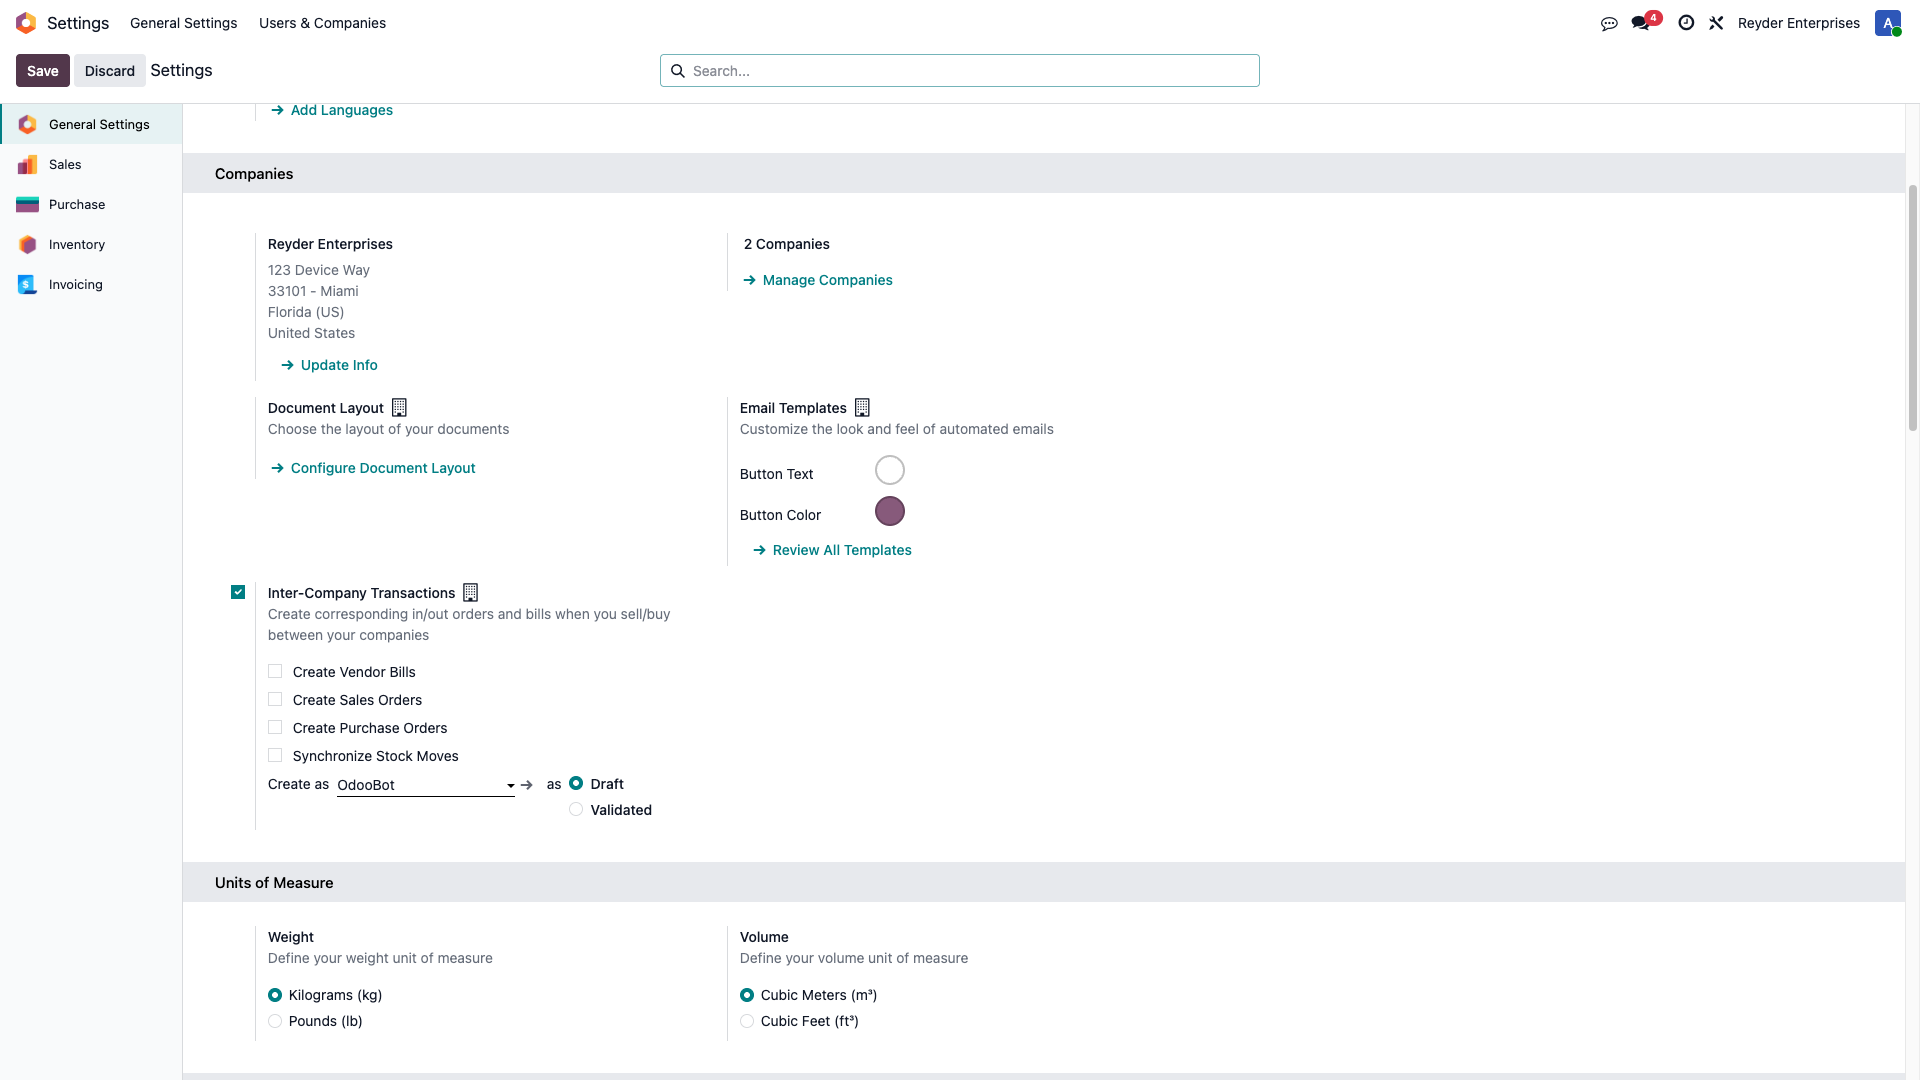
Set Inter-Company to Synchronized Orders (or Create Purchase Order). This is what makes a sales order in Reyder auto-spawn a purchase order in Axis when they're buying from each other — it's a standard Odoo feature, not device-inventory-specific.
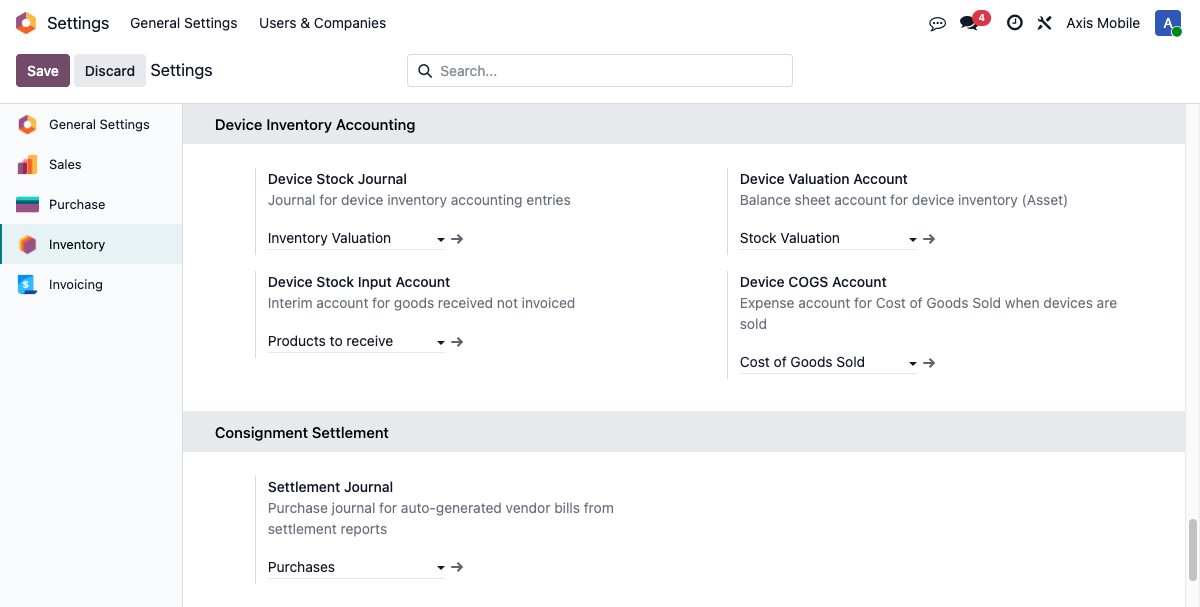
Device Inventory Accounting
Settings → Inventory → Device Inventory Accounting
Configure all four before using the module in production. Failure behavior is asymmetric: delivery COGS and retail invoice/COGS hard-fail on missing config (v2.28), but the receiving GL entry still soft-fails — the manifest completes, a chatter warning is posted, and stock lands on-hand with no GL impact. See Accounting Reference — Failure modes for the per-entry breakdown.
| Setting | What it is | Example |
|---|---|---|
| Device Stock Journal | Journal for all device inventory moves (receiving, COGS, adjustments) | Inventory Valuation |
| Device Valuation Account | Asset on balance sheet — holds value of stock on hand | Stock Valuation |
| Device Stock Input Account | Liability / expense for Goods Received Not Invoiced (GRNI) — cleared when supplier bill arrives | Products to Receive |
| Device COGS Account | Expense — debited when a device sells | Cost of Goods Sold |
How these accounts are used
- Receiving: DR Valuation / CR Stock Input — increases stock on hand, records obligation to pay the vendor
- Sale: DR COGS / CR Valuation — moves value from asset to expense
- Customer invoice: DR AR / CR Revenue (standard Odoo — uses the customer's sales journal, not the Device Stock Journal)
See Accounting Reference for the full entry table including settlement, retail, and inter-company.
Steps
- Go to Settings → Inventory and scroll to Device Inventory Accounting.
- Pick the Device Stock Journal (Miscellaneous or Inventory type).
- Pick each of the three accounts.
- Save.
Consignment Settlement
Same settings page, next section. One field:
| Setting | What it is |
|---|---|
| Settlement Journal | Purchase journal used for auto-generated vendor bills to device owners (Axis) |
When a consignee settlement report is confirmed, the system auto-posts a vendor bill to Axis for the owner-amount total. That bill posts against this journal.
Steps
- In Device Inventory Accounting, find Settlement Journal.
- Pick a purchase-type journal.
- Save.
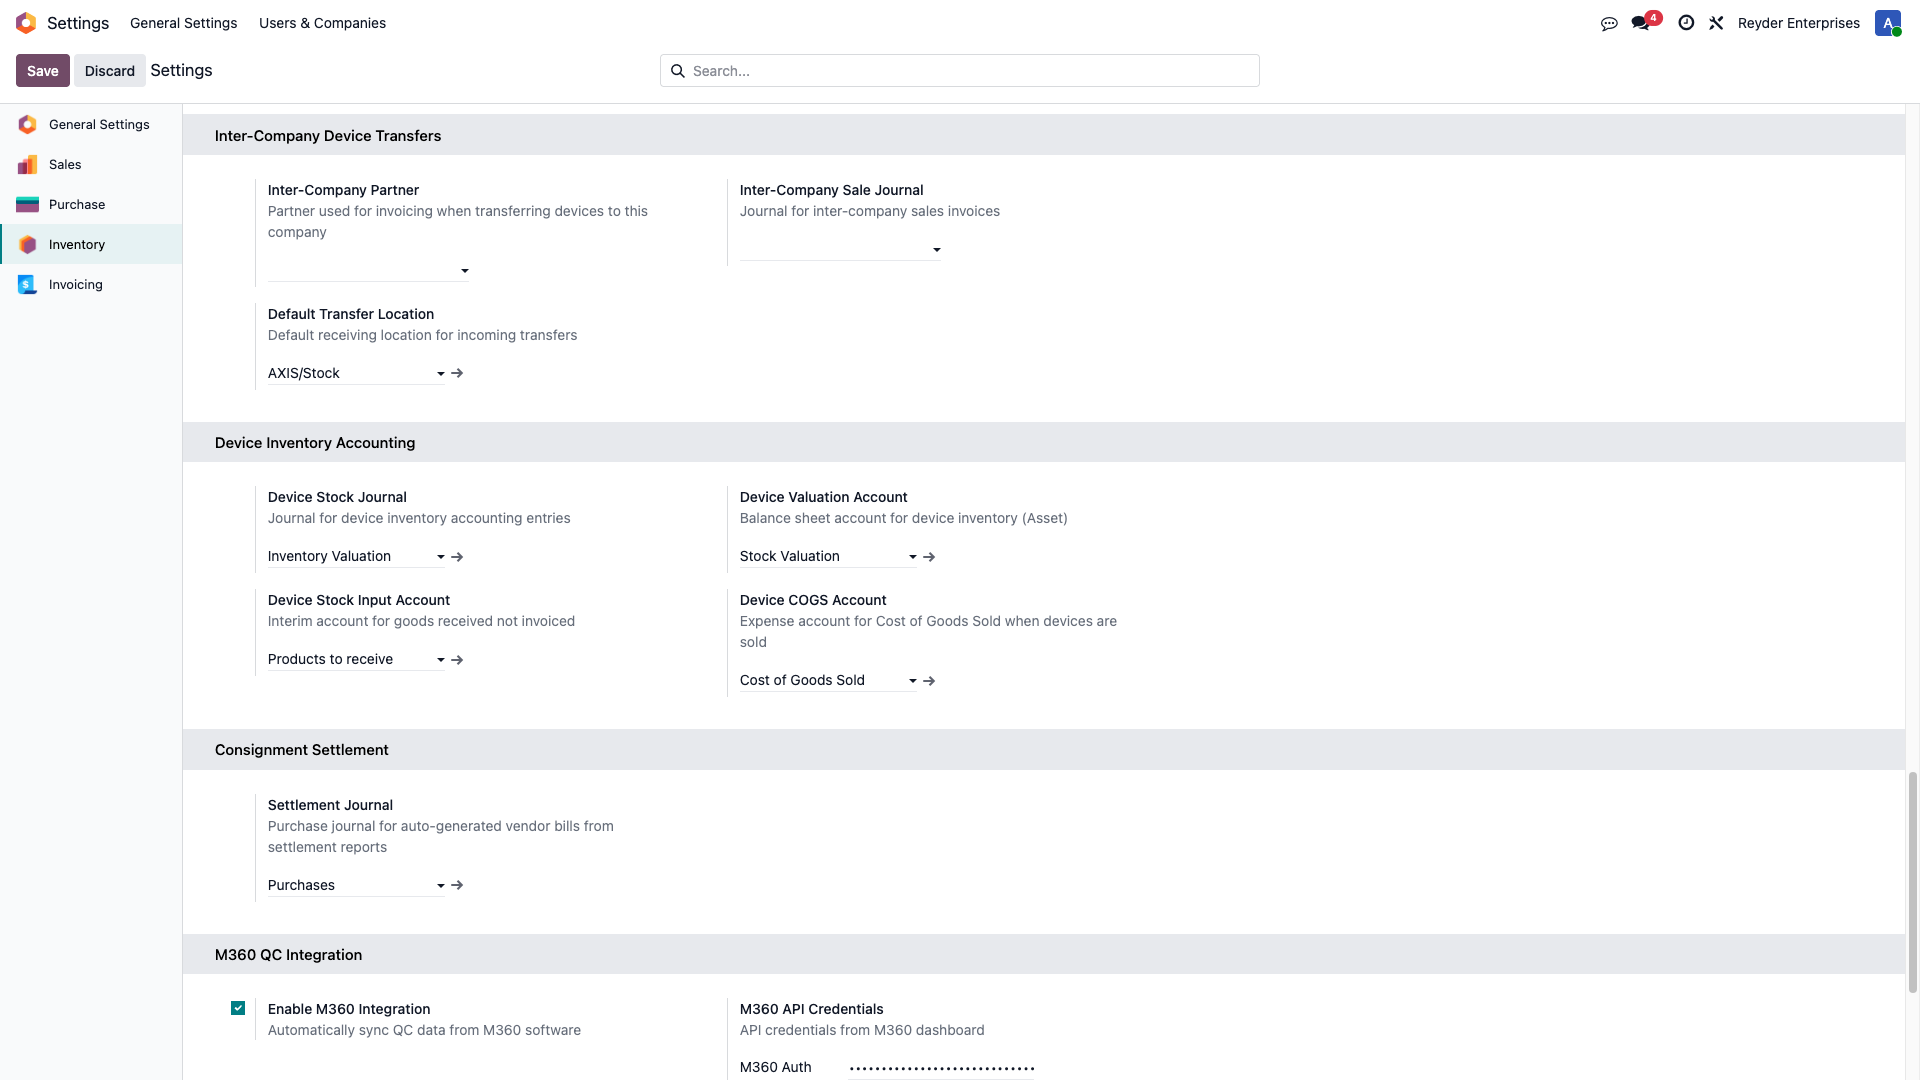
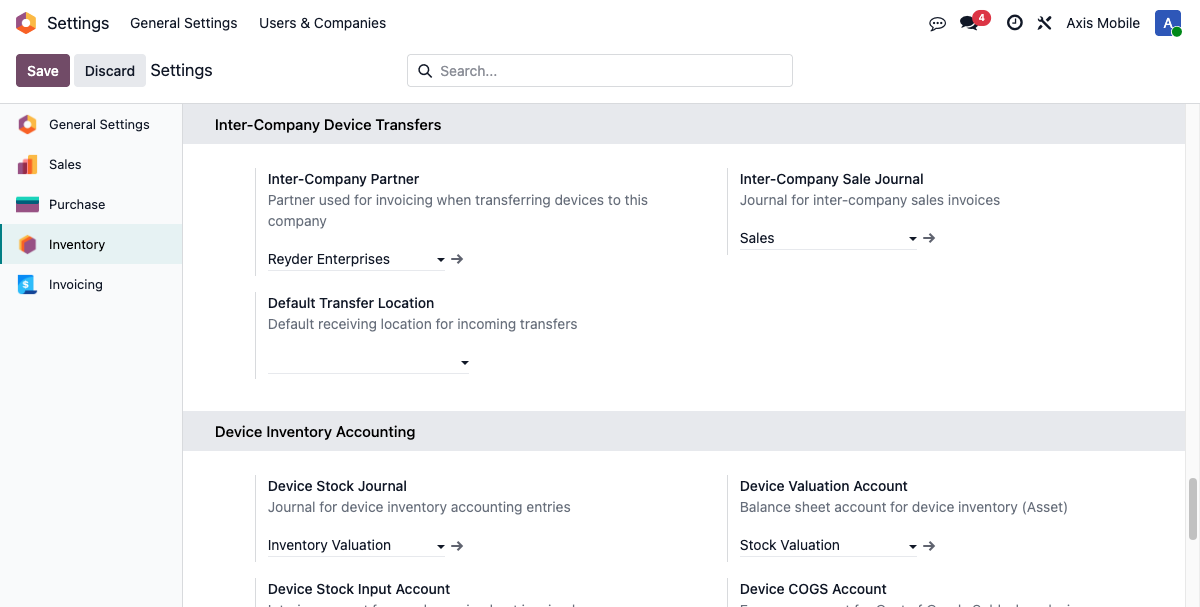
Inter-Company Device Transfers
Settings → Inventory → Inter-Company Device Transfers
Only needed if you use the Inter-Company Transfer Orders feature. Skip this if devices never move between Reyder and Axis.
| Setting | What to set it to |
|---|---|
| Inter-Company Partner | Partner record representing the other company (as seen from this company). For Reyder's settings, point at the Axis contact; for Axis's settings, point at the Reyder contact. |
| Inter-Company Sale Journal | Sales journal used for inter-company invoices — typically just the standard Sales journal |
| Default Transfer Location | Where incoming transfers land on receipt, e.g. WH/Input |
Both companies need their side configured, each pointing at the other company.
M360 QC Integration
Settings → Inventory → M360 QC Integration

M360 is a third-party diagnostic service. Integration is optional — if you don't use M360, leave this disabled.
| Setting | What it is |
|---|---|
| Enable M360 Integration | Master toggle |
| Auth Code | Provided by M360 |
| Auth Token | Provided by M360 |
| API Mode | test during setup, live for production |
Steps
- Tick Enable M360 Integration.
- Paste the Auth Code and Auth Token from M360's portal.
- Set API Mode to
test. - Save.
- On the device form, test the Sync M360 button on a known test device. If it pulls data back, credentials are working.
- Set API Mode to
livewhen you're ready.
Device Grades
Inventory → Device Inventory → Configuration → Device Grades
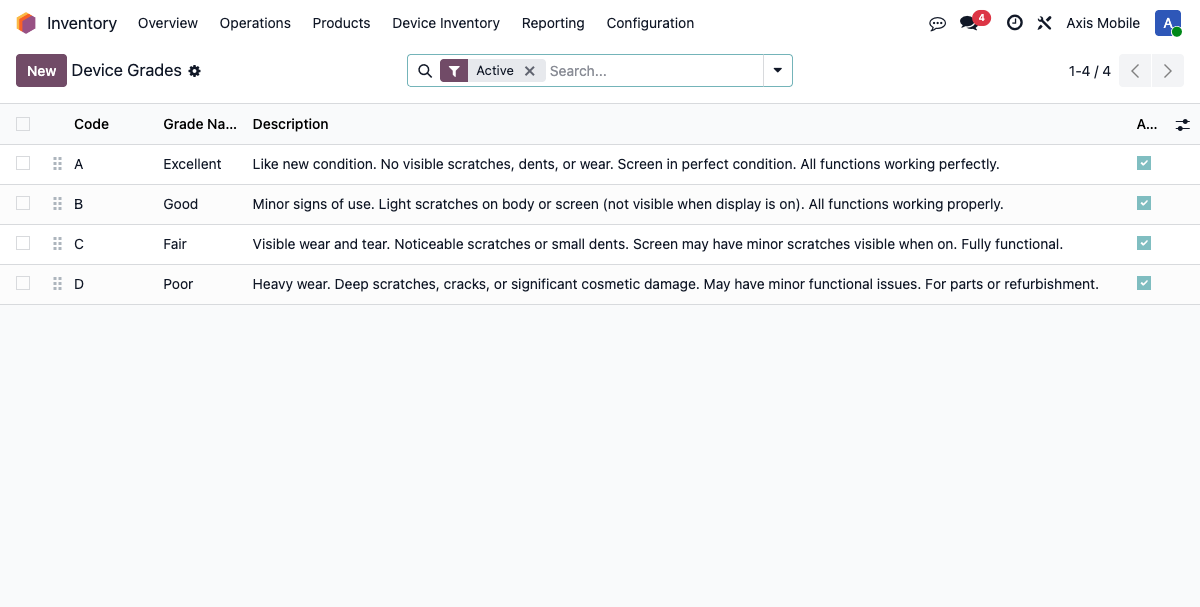
Four standard grades install with the module: Excellent, Good, Fair, Poor. They cover most use cases. Don't rename or delete them — existing records point at these.
You can add custom grades (e.g. a "Refurbished" grade). Click New, set a name and optional description, save.
Users and permissions
Settings → Users & Companies → Users
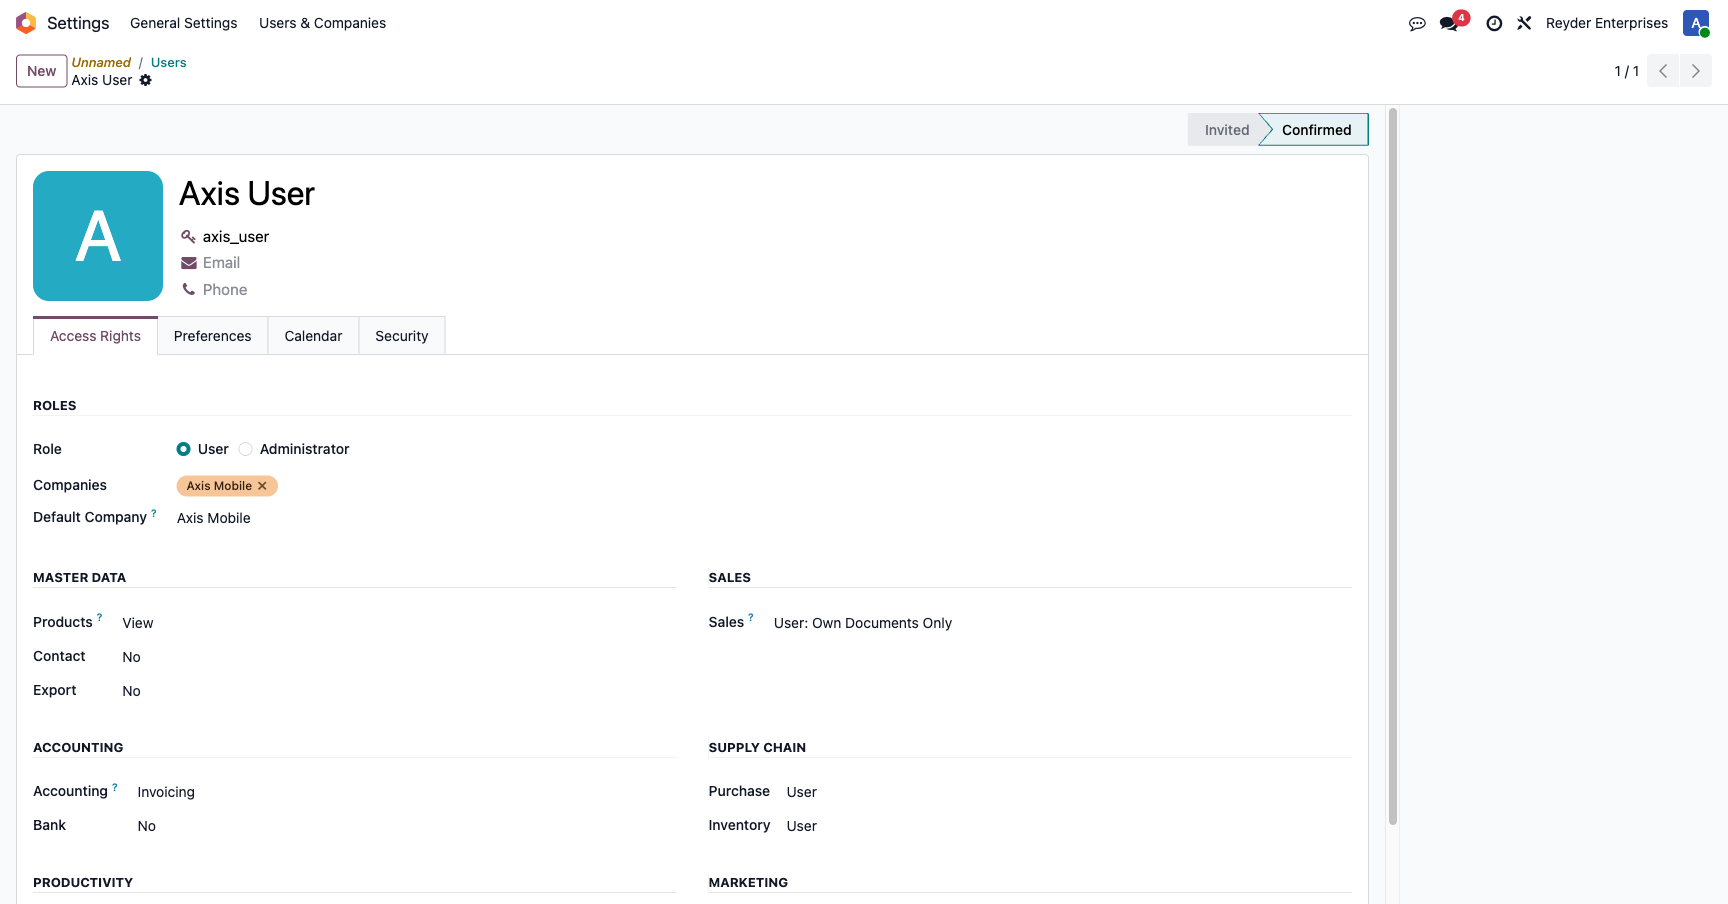
Each user needs the right security groups for their role:
| Role | Assign these groups |
|---|---|
| Warehouse operator | Stock User |
| Warehouse supervisor | Stock Manager |
| Sales | Salesman + can allocate devices |
| Sales manager | Sales Manager + Stock User |
| Accounting | Accountant + Stock User + Sales Manager (read settlement reports) |
| Admin | All of the above + both companies |
Company assignment — critical for separation
- A person who works only for Axis should have Allowed Companies = Axis Mobile only.
- A person who works only for Reyder → Reyder only.
- A person who works for both → both. But this disables data-separation testing for that user.
For the axis_user test account used to verify isolation, Allowed Companies must be Axis Mobile alone. Any extra company breaks the test. See Security & Multi-Company for the verification procedure.
Your first consignment agreement
Once setup is done, create the Reyder ↔ Axis consignment agreement so devices can actually flow. This is a separate page: Consignment Agreements.
Without an active agreement, Reyder can't see Axis's devices, can't allocate them, and can't sell them. It's the last step that turns setup into a working system.
Common setup problems
I filled in all the accounting fields but saves aren't sticking
Most likely you're editing under the wrong company context. Each company has its own Device Inventory Accounting settings. Switch companies via the header dropdown, re-open Settings, and configure each side separately.
The Device Inventory menu doesn't appear
Check that the current user has at least the Stock User group. The menu is gated by group membership.
M360 integration keeps failing with 401
Regenerate the Auth Token in M360's portal — copied tokens sometimes have trailing whitespace. Paste into a plain-text editor first to verify the value, then paste again into Odoo.